Workshop facilitation is an art that takes time to master. There are a lot of books, videos, blogs & online training material out there to help you, but the best way to become good at it is actually to do it (like a lot of UX & BA techniques). However, when virtual workshops became a necessity last year, many good facilitators were taken by surprise. Indeed, they suddenly lacked the right tools (like virtual whiteboards) to perform well.
Luckily for me, I had the chance to start organizing and facilitating virtual workshops before it was cool and/or required. Indeed, one of my projects at that time required frequent interactions with stakeholders from across the country (and Canada is a big country). In that context, live workshops were just not possible. After discussing with my colleagues, we decided to experiment with different approaches to make our virtual workshops a success.
We’ve been running virtual workshops for almost 2 years now, using Miro as our canvas for collaboration. Miro is a virtual whiteboard that can be used for a lot of things, and we realized that it was also very good to run workshops – as long as you use it right.
Here’s a list of things I learned to make the most of Miro to optimize virtual workshops. You’ll see that these tips can easily translate to other virtual whiteboards.
Setting up your virtual whiteboards for success
1. Forget fancy layouts
In real life, finding your way in a room is very easy for most of us. On a virtual whiteboard, it’s easy to get lost. While you might think that fancy layouts will delight your participants, we realized that most of the time, it’s just confusing them.
A linear, left-to-right layout with clear boundaries between sections will make navigation intuitive for your participants. It will also save you a lot of time since you won’t have to give your participants directions so they can find their way to the next activity.

2. Number your working areas
Using a straightforward layout (see the previous tip) is a must for an efficient virtual workshop. However, when your workshop lasts for a longer period of time, some participants might drop off at some point (just like in real-life workshops). When they come back, the best way to have them join the other participants where they are is to number your working areas.
3. Work with smaller chunks
Screen size brings a hard constraint to how you can interact with participants. In a conference room, you can easily fill a wall with stickies and still be able to figure out the big picture. However, in a virtual setting, we saw that participants are having a hard time doing it.
We found that breaking down activities into smaller chunks and keeping room for more convergent thinking activities helps. Indeed, participants were able to more easily get into that big picture mindset with that setup.
This is also true with the group size. Don’t hesitate to use breakout rooms to make interactions easier between a smaller number of participants. You will need more time to debrief with the whole group but will get richer insights.
4. Integrate your moderator instructions in virtual whiteboards
A good script is essential to a great workshop. In face-to-face workshops, I always have a printed copy at hand so that we can run activities smoothly and adjust as required. However, I realized that it’s not as efficient as I thought when facilitating a virtual workshop. Going back & forth between my paper copy and the virtual whiteboard isn’t as natural as it seems.
Since one of my screens is dedicated to videoconference, the only real estate still available is within the virtual whiteboard. Under such constraints, I found an interesting way to integrate my moderator script within the board. This setup makes it available to myself & other moderators when needed, without disturbing the participants’ interactions.
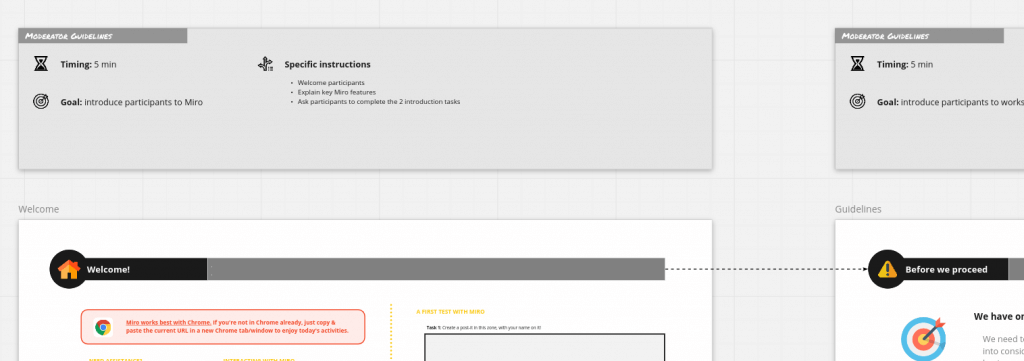
This way, they don’t disturb participants but can be easily referred to by moderators.
Setting up your participants for success
5. Invite people to set up their account first
When we started organizing virtual workshops, we wanted to limit friction with participants. We didn’t ask for any preparation upfront and handled the initial Miro account creation within the workshop. And… it was a mess! Some of the participants didn’t receive the activation email. Others already had a Miro account. And the remaining ones were waiting while we were helping to fix the activation issues.
After a few trials, we decided to send participants a minimal set of instructions to set up their accounts in advance. This allowed us to handle technical issues upfront and to leave existing Miro users outside of the process.
6. Start with a 15 min introduction exercise for new users
Virtual whiteboards are usually very easy to use. However, from my experience, some participants are still not comfortable using them even after many opportunities to do so. In order to break the technical ice, I created a simple overview of the features participants will have to use in the workshop. This ice breaker covers how to navigate the whiteboard, how to find help, and how to create stickies & customize them. This gives them a first opportunity to try the board without the workshop pressure.
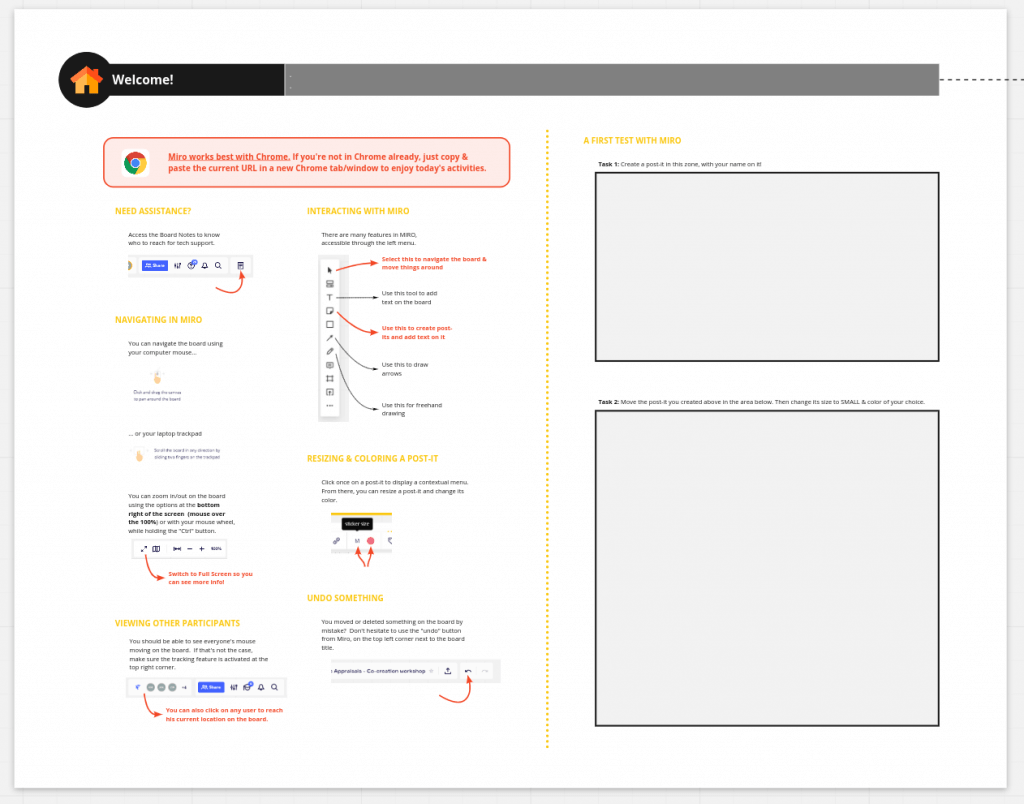
In less than 15 min, most participants are up & running with this small introduction. More advanced features are very often not required, so I don’t spend time explaining them. Tech-savvy participants will usually discover them on their own, without slowing down the group. This also helps to reduce the perceived complexity of the virtual whiteboard for more novice participants.
Do you like what you’re reading?
Facilitating the workshop virtually
7. Leverage well-known communication tools
We used Miro integrated videoconferencing features for our first virtual workshop attempt. It did work, but it wasn’t as seamless as we first thought. It also had limitations that we didn’t have with our internal communication platform (Microsoft Teams). In the end, we realized that it brought more friction to the experience than it should.
We saw that by relying on videoconferencing tools already known by our participants, we made their first virtual whiteboard experience easier. This setup also revealed to be helpful to leverage available screen real estate and give more flexibility to participants.
For those with two screens, one of them could be dedicated to videoconferencing, and the other to our virtual whiteboard. For participants with only one screen, they could control both windows individually, giving them the flexibility to focus on what they prefer.
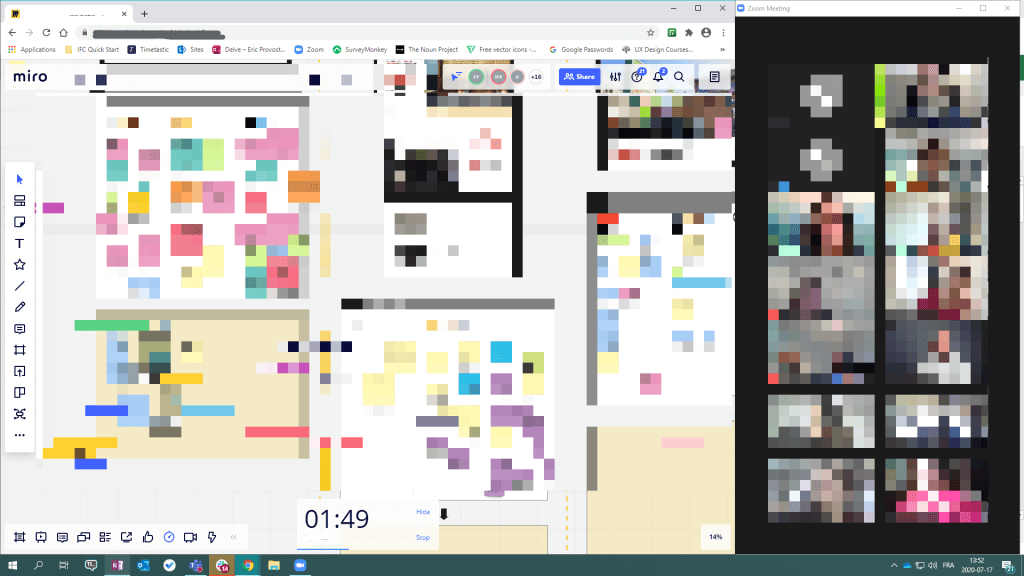
8. Record your workshop
I usually like to take pictures of participants performing during face-to-face workshops. This gives us great visibility over our usually-less-tangible work, especially when it’s time to showcase our work to higher management.
There are many ways to achieve that in a virtual setting. Simple screenshots can be useful, but require constant attention to find the best moments to capture. My preferred approach is actually to share the screen with my virtual whiteboard using our videoconferencing tool and to record the session. This way, you can easily go back to any point in time, either to capture it or review some interactions with participants.
Another advantage of screen-sharing your whiteboard is to allow observers to observe in a less intrusive way. They don’t need to set up or learn to use the virtual whiteboard and can be muted, making it easier to manage them.
9. Have a side channel for tech support
Stickies not sticking. Sharpies not writing anymore. Missing sheets of paper. These are issues easy to solve in a face-to-face workshop. While these issues don’t exist anymore in a virtual setting, technical support is a critical piece if you want your remote workshop to be a success.
Instead of handling technical issues live with all participants, we always identify one of the moderators as the technical go-to guy. We let participants know in advance that they can reach out to that person using different means of communication should they have a problem using the tools for the workshop.
And as a last resort, you can always have someone from the workshop team to be the virtual hands of a participant that cannot make the tools work properly. Surprisingly, this removes a lot of pressure on less tech-savvy participants.
Leveraging virtual whiteboards after the workshop
10. Lock the board but allow for review
While virtual whiteboards are life-savers in those pandemic days, they have one major flaw. Their content, especially the one added during the workshop, can be edited by any of the participants. When you think about it, it’s like stickies falling from the walls, power 1000.
Locking participant-generated content on the board is therefore essential, especially if you allow them to come back after the workshop to review & enrich the material. While it’s not common in a face-to-face workshop, we found that it can be really useful in a virtual setting. First, sessions are usually shorter, so participants might have new thoughts once the workshop is over. Also, since side discussions can hardly happen in a virtual setting, letting the whiteboard available after the session can support those discussions more easily – and generate new ideas as well.
11. Debrief using virtual whiteboards
Just as I suggested to leverage the board for your moderator script, you can also use it to debrief more easily with your team once the workshop is over.
To prevent mixing our thoughts with participants’ ones, we usually do this outside of the participants’ working areas. Another approach that works well is to use some specific colours or patterns to add our notes on the virtual whiteboard. I personally like to keep black stickies for moderator use, either during or after the workshop, as they are easy to find on a board.
Do you like what you’re reading?
Have you learned other things about workshop facilitation from this last year in a virtual setting? Share your practices with other readers in the comments below!
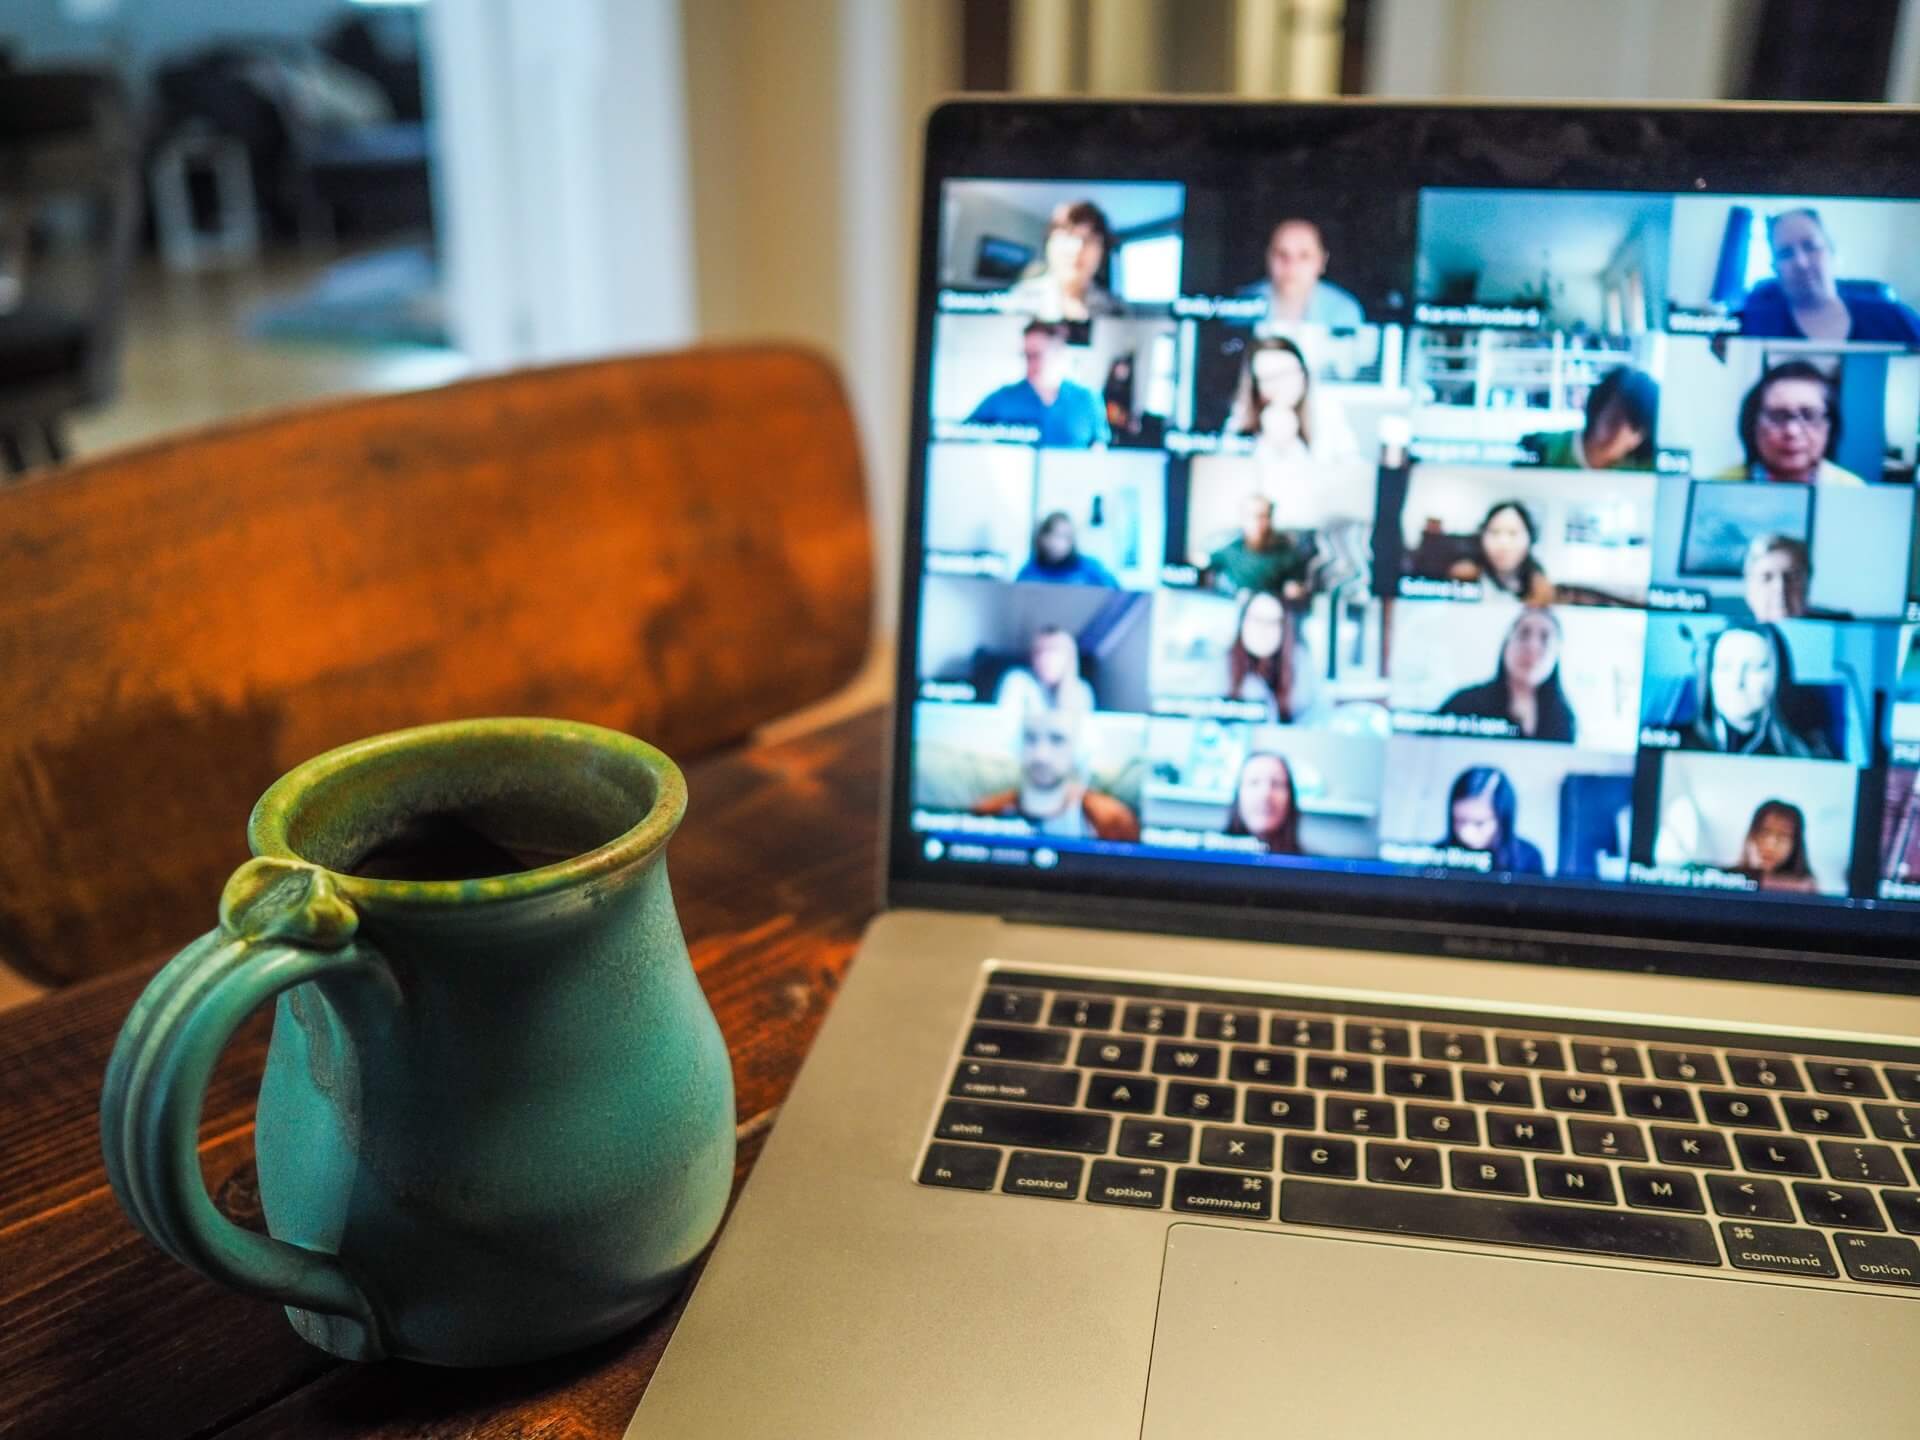
Photo by Chris Montgomery on Unsplash


[…] a list of things Eric learned to make the most of Miro to optimize virtual workshops. You’ll see that these tips can easily translate to other virtual […]